After testing the script in PART 1, a geometry is created. Our job now is now publish it into the catalog.
Image creation
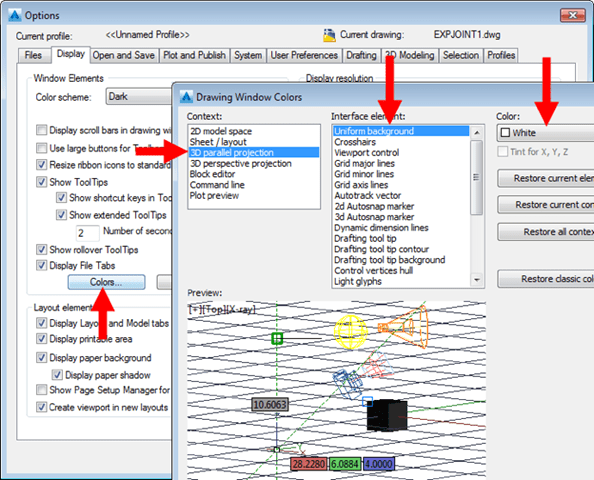
Manually dim all the necessary and changing CAD environment into white background (or any color)
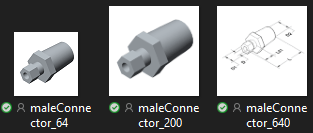
Capture the image using an app like PicPick or Cropper to create three images with different sizes: maleConnector_64.png maleConnector_200.png maleConnector_640.png with size 64×64, 200×200, 640×640 accordingly
PART CREATION
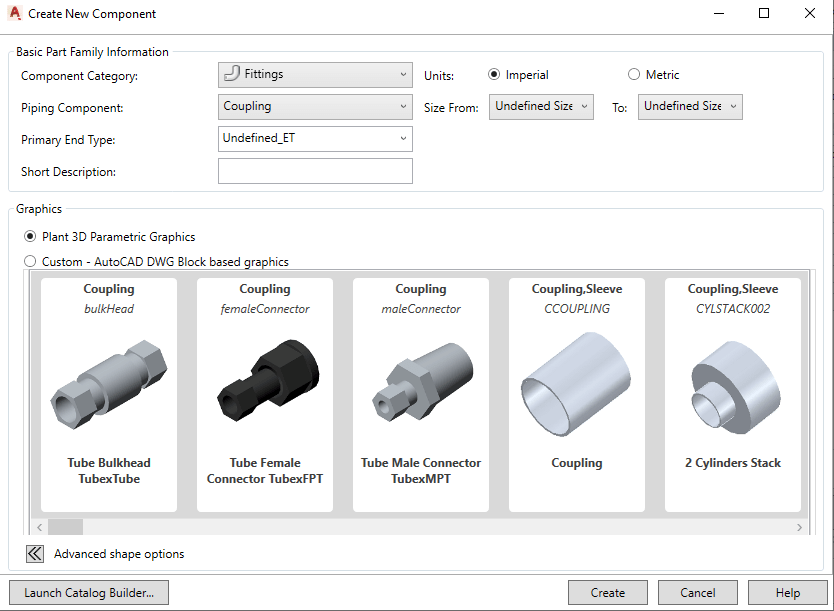
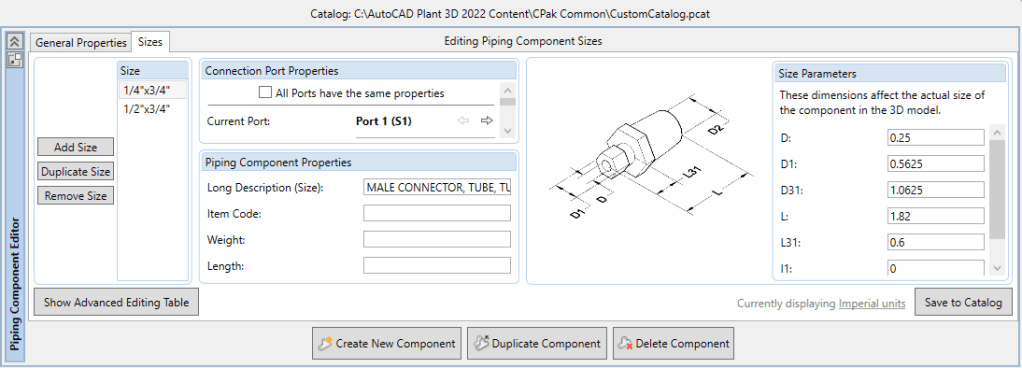
Final step is to launch Spec Editor. Open an existing CustomCatalog (better than a whole new catalog using CatalogBuilder). Choose “Create New Component” and choosing our part by selecting the group (defined in script).
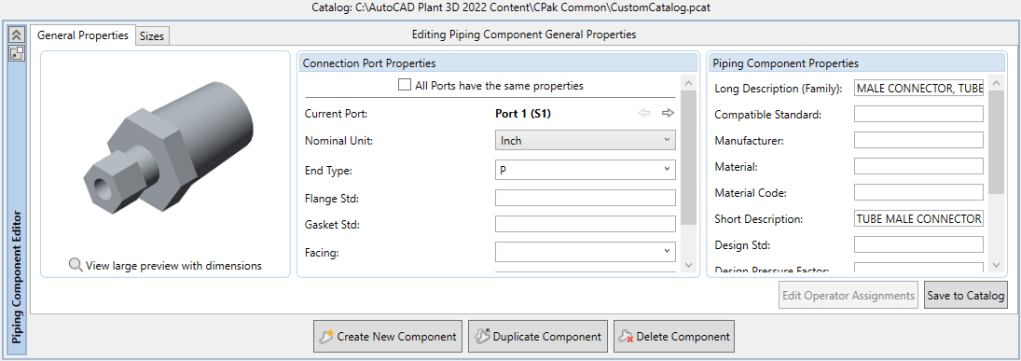
Setting and save the catalog. Now it ready-to-use in Plant3D.
See PART 3:

Leave a comment